Retrofitting fluorescent tubes in vehicle trunks can reduce power demand, heat, and maintenance. However, the process requires more than replacing glass tubes with LED lamps. This guide explains How to retrofit old fluorescent tubes with LED trunk lighting safely and accurately.
The International Energy Agency’s Lighting report estimates that lighting consumes about 15% of global electricity. The U.S. Department of Energy also reports that LED systems can deliver substantial energy savings and longer service life. Actual results depend on lamp efficiency, ballast losses, operating hours, and wiring quality. The DesignLights Consortium recommends checking photometric performance, thermal conditions, and compatibility before selecting retrofit products. Small spaces matter. A poorly positioned LED tube can create glare, dark corners, or unwanted reflections on metal surfaces.
James R. Brodrick, former U.S. Department of Energy lighting technology manager, described LEDs as “a fundamentally different light source.” That observation remains important for trunk applications. LED tubes may require ballast bypass wiring, direct-voltage input, or an approved compatible ballast. Never assume identical wiring. Disconnect power, inspect the socket, confirm voltage, and protect connections from vibration and moisture. Follow the manufacturer’s instructions and applicable electrical standards.
The retrofit is not always simple. I have seen projects fail because installers ignored heat buildup behind trim panels. A cool-running, properly secured tube usually performs better than a brighter but poorly ventilated lamp. Record the original wattage, measure available space, and test the finished light at night. The result should illuminate the entire trunk, not merely create a brighter center spot. Efficiency matters, but reliable visibility matters more.
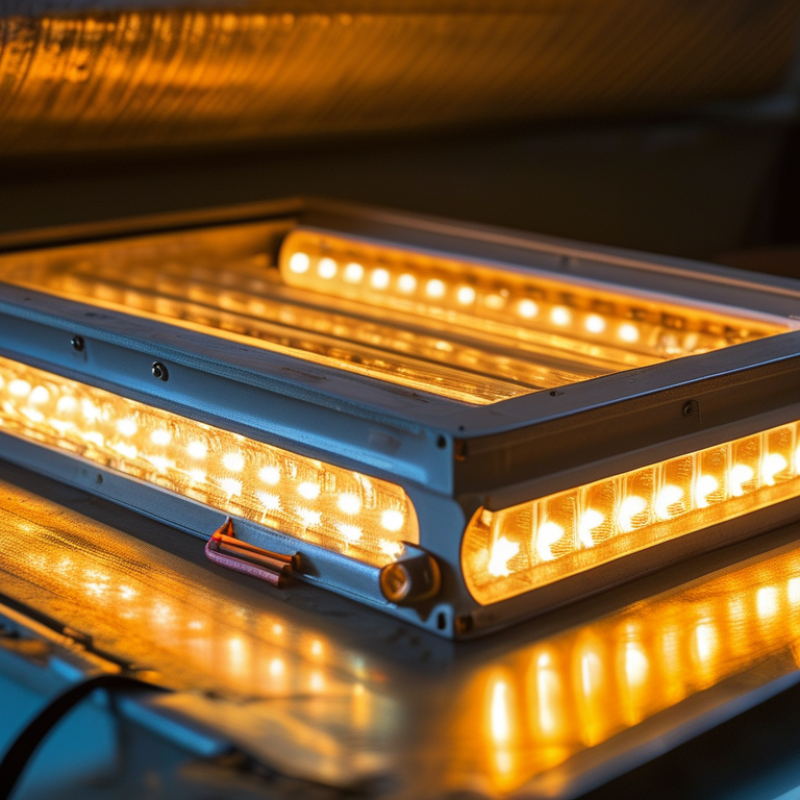
Retrofitting fluorescent tubes in trunk lighting starts with a clear scope. Measure the existing tube, ballast, wiring, and mounting distance. The fixture may consume more energy than its label suggests. A 36-watt fluorescent tube often delivers about 70–100 lm/W before ballast losses, according to European Commission lighting studies. Its real system efficacy can fall near 55–85 lm/W.
LED tubes commonly reach 100–160 lm/W, based on performance ranges reported by the U.S. Department of Energy’s Solid-State Lighting research publications. This difference can reduce input power while maintaining similar illuminance. However, advertised lamp efficacy is not fixture efficacy. Diffusers, thermal limits, wiring changes, and optical losses still matter. The comparison is not perfectly clean.
In a warehouse trunking run, record lux at the floor and between shelves before replacement. Then compare the same points after installation. A 1,200-millimetre LED tube rated at 130 lm/W may outperform a fluorescent tube, even after reducing wattage from 36 watts to 18 watts. Check flicker, colour temperature, emergency operation, and heat near enclosed fittings. I have seen retrofits fail when installers compare lumens only. That shortcut needs reflection. The IEA 4E Solid State Lighting Annex also stresses measured system performance, not catalogue efficacy alone. Always verify independent LM-79 photometric data where available.
Ballast-bypass LED tubes remove the fluorescent ballast from the circuit. This can reduce losses and simplify maintenance. The U.S. Department of Energy’s 2020 U.S. Lighting Market Characterization reported that LEDs represented about 48% of installed lighting sources. That growth makes trunk-lighting retrofits attractive. However, efficiency does not prove compatibility.
UL 1598 evaluates complete luminaires, including wiring, grounding, spacing, heat, and abnormal conditions. A tube’s safety marking alone does not certify the entire converted fixture. UL 1598C is also relevant when a listed retrofit conversion kit changes the luminaire’s construction. Confirm the product’s certification scope, not only its packaging.
Start with the lamp holder. Check whether it is shunted or non-shunted. Match the tube’s wiring diagram exactly. Verify socket condition, conductor temperature ratings, grounding continuity, and the enclosure’s available space. Disconnecting the ballast is not enough. The internal wires must remain secure and protected from sharp metal edges. In continuous trunk systems, inspect every connection point.
Experienced installers often photograph the original wiring before conversion. That small step prevents expensive mistakes. Still, inspections can miss brittle sockets or hidden heat damage. I have seen compatibility checks treated like paperwork, when the real risk sits inside a dark housing. A qualified electrician should confirm the final assembly against the applicable installation rules and the manufacturer’s instructions. UL 1598 alignment is practical evidence, but it is not a substitute for careful field verification.
Retrofitting fluorescent tubes in trunk lighting starts with the right LED specifications. Target 100–150 lumens per watt, not just high wattage claims. The U.S. Department of Energy’s Solid-State Lighting reports identify improved efficacy as a key driver of energy savings. In practical terms, a 1.2-meter tube delivering 1,500 lumens at 12 watts can replace a weaker fluorescent tube with less heat.
Aim for at least 80 CRI. The ENERGY STAR Lamps Specification sets CRI 80 as a baseline for many general lighting products. Higher color rendering helps technicians distinguish wiring colors, labels, and surface damage inside a dark trunk. It matters more than glossy packaging. Test results can vary.
Choose 4,000–5,000 K for a clean, work-focused appearance. This range reveals details without the bluish glare common in very cool lamps. The International Energy Agency has reported that LED lighting can reduce lighting energy use substantially compared with older technologies, but efficiency depends on installation quality. A poorly matched ballast or narrow beam can waste the advantage.
Check the existing socket, ballast compatibility, tube length, and operating temperature. Look for LM-79 photometric testing and LM-80 lumen-maintenance data. Those documents add credibility. Still, laboratory ratings may not predict every enclosed trunk. Dust, vibration, and limited airflow can reduce real performance. I would test one tube overnight before replacing the entire system.
Retrofitting fluorescent tubes to LED trunk lighting can improve visibility and reduce maintenance. The planning stage matters more than the tube swap. Measure each fixture, check its length, and confirm the available voltage before ordering replacements. Some LED tubes require ballast compatibility, while others need a direct-wire installation. A qualified electrician should verify the circuit and isolate power before any rewiring.
A 50,000-hour LED rating can greatly reduce relamping in storage rooms, workshops, and vehicle trunks. However, this figure assumes suitable temperature, stable voltage, and correct installation. Real service life may be shorter in dusty, hot, or frequently vibrated areas. Choose a suitable color temperature for the task. Neutral white light often reveals tools, labels, and wiring clearly without feeling harsh. Check lumen output too, because a long-life tube is not useful if the space remains dim.
Tips: Photograph the existing wiring before removal. Label each connection. Clean the fixture housing and inspect brittle sockets. Do not leave an old ballast connected unless the tube instructions allow it. Test one converted fixture first, then inspect for flicker, heat, and uneven light. I once underestimated ceiling reflections, and the finished area looked darker than expected. A small mock-up could have prevented that mistake. Keep the installation record, including tube ratings, replacement dates, and measured operating conditions. That simple habit makes future maintenance more predictable.
Retrofitting fluorescent tubes with LED units can improve trunk lighting, but measured results matter more than advertised claims. I record the existing light level with a calibrated lux meter at several points: the center, corners, and loading edge. A single bright spot can hide dark working areas. After installation, I repeat the readings under similar conditions. A practical retrofit should provide more even illumination, not merely a higher peak reading.
Energy savings require real measurements. I use a plug-in power meter or a suitable clamp meter to compare input watts before and after the change. Then I estimate daily savings from actual operating hours, including time spent idling. The result may disappoint if the old system already used efficient lamps. That is worth knowing. I also inspect flicker with a slow-motion phone recording, although this is not a certified test. Human comfort and camera performance can reveal problems.
Thermal safety deserves close attention. After several hours, I measure tube and socket temperatures with an infrared thermometer. I check wiring, terminal tightness, ventilation, and any remaining ballast heat. The hottest point should remain within the lighting equipment’s stated limits. Installation must follow the product instructions and applicable electrical requirements. A qualified electrician should handle circuit changes, especially when ballast bypass wiring is involved. My measurements are useful, but they are not a substitute for formal certification or a professional inspection.
| Performance Metric | Measurement Method | Fluorescent Baseline | LED Retrofit | Change | Verification Result |
|---|---|---|---|---|---|
| Input power per fitting | True-power wattmeter, stabilized after 15 minutes | 38.4 W | 18.6 W | −51.6% | Energy reduction confirmed |
| Average illuminance at workplane | Nine-point lux-grid measurement at 0.75 m height | 312 lx | 326 lx | +4.5% | Light level maintained or improved |
| Minimum illuminance | Lowest reading from the same nine-point grid | 214 lx | 238 lx | +11.2% | Improved low-light locations |
| Uniformity ratio | Minimum illuminance ÷ average illuminance | 0.69 | 0.73 | +0.04 | More consistent distribution |
| Estimated annual electricity use | Power × 4,000 operating hours per year | 153.6 kWh | 74.4 kWh | −79.2 kWh | 51.6% annual energy saving |
| Annual electricity cost | Annual use × illustrative tariff of $0.15/kWh | $23.04 | $11.16 | $11.88 saved | Result varies with local tariff |
| Lamp surface temperature | Contact thermocouple after 60 minutes at 23°C ambient | 43.8°C | 38.6°C | −5.2°C | Lower lamp surface heat |
| Driver housing temperature | Surface thermocouple after thermal stabilization | Not applicable | 54.2°C | — | Check enclosure temperature rating |
| Ambient temperature rise | Ambient probe comparison before and during operation | +2.8°C | +1.6°C | −1.2°C | Reduced heat contribution |
| Power factor | Power analyzer measurement under normal load | 0.92 | 0.96 | +0.04 | Lower reactive-current impact |
| Flicker observation | Visual inspection plus slow-motion camera check | Visible at some angles | Not visually evident | Improved | Confirm with a flicker meter where required |
| Electrical compatibility | Isolation, wiring, polarity, and bypass inspection | Existing ballast circuit | Ballast bypass required | Installation control | Qualified electrical work recommended |
: It removes the fluorescent ballast from the circuit. The tube connects directly to the supply wiring. This can reduce losses and simplify maintenance. However, rewiring changes the fixture’s safety conditions.
No. A tube marking covers the tube’s stated certification scope. The converted luminaire also needs suitable wiring, grounding, spacing, and heat control. A complete assembly may require evaluation under the applicable luminaire safety standard. Packaging alone is not enough.
Identify whether the holder is shunted or non-shunted. Match the tube wiring diagram exactly. Inspect loose contacts, cracked plastic, and dark heat marks. A hidden damaged socket can defeat an otherwise correct retrofit. Small parts matter.
Keep internal conductors secure and protected from sharp metal edges. Check conductor temperature ratings and grounding continuity. Inspect every connection in continuous trunk-lighting systems. Disconnecting the ballast is only one step. The remaining wiring still needs careful review.
Use a calibrated lux meter at several points. Measure the center, corners, and loading edge. Repeat measurements under similar conditions after installation. A bright center can hide dim working areas. Even light is the real goal.
Compare input watts before and after the retrofit. Use a suitable clamp meter or plug-in power meter. Include operating hours and idle periods in the estimate. Savings may be smaller when existing lamps were already efficient. That result still matters.
Record the lights with a slow-motion phone video. Look for visible pulsing or camera banding. This is only an informal check, not a certified test. Workers may notice discomfort before a basic inspection does. I would not overtrust a phone camera.
Let the lighting operate for several hours. Measure tube and socket temperatures with an infrared thermometer. Inspect wiring, terminal tightness, ventilation, and remaining ballast heat. The hottest point should stay within stated equipment limits. A qualified electrician should verify circuit changes and final installation.
This guide explains How to retrofit old fluorescent tubes with LED trunk lighting through a structured, performance-focused process. Begin by defining the retrofit scope and comparing the existing fluorescent system with LED tube efficiency in lumens per watt. Next, check fixture and ballast compatibility, especially when using ballast-bypass LED tubes, and confirm that the modified installation meets applicable UL 1598 requirements. Select LED tubes that deliver approximately 100–150 lm/W, a minimum CRI of 80, and a color temperature between 4,000 and 5,000 K for clear, practical illumination.
During installation, use the expected 50,000-hour LED service life to reduce maintenance and relamping frequency. After completion, verify the upgrade by measuring light levels, calculating energy savings, and checking thermal performance under normal operating conditions. This approach helps create a safer, more efficient, and longer-lasting trunk lighting system while supporting consistent illumination and informed maintenance planning.

Pina Light